1. Creating a tree asset
This will run you through the tree creation wizard, giving you all the files needed to start generating and customising a tree
2 min read
You can do this in the wizard, but I have occasionally had issues with Unity not recognising the folder that it created, so I often create one manually first.
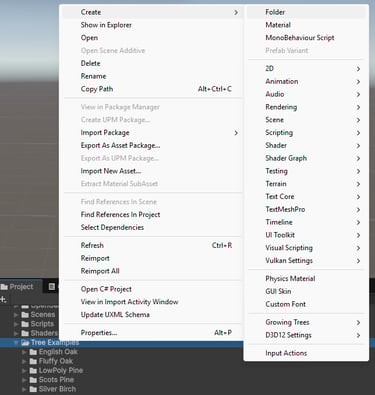
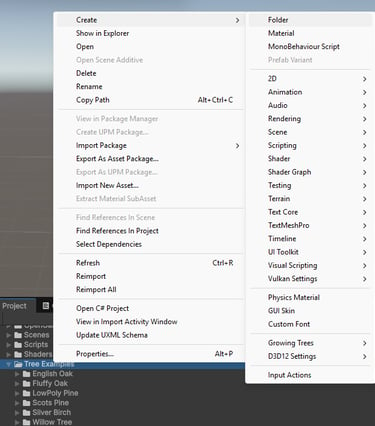
Step 0 - Create a folder to store your tree
Step 1 - Activate the wizard
In the unity top bar, select tools -> growing trees -> tree wizard. Then press the start button.


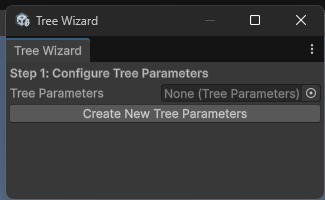
Step 2 - Create Tree Parameters
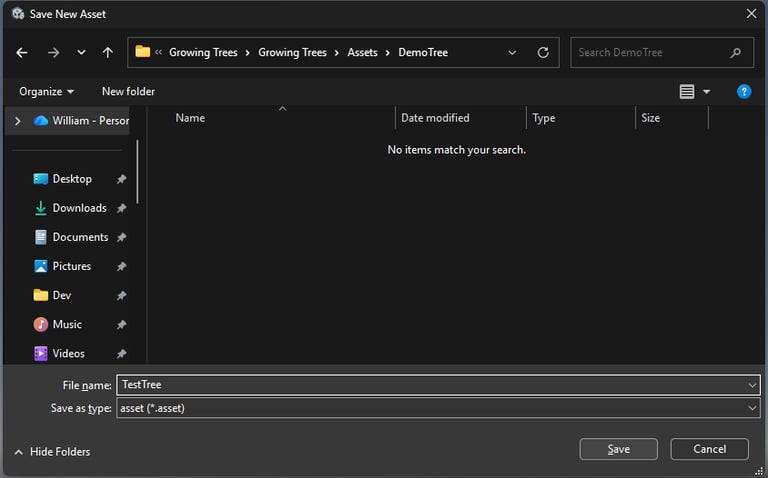
Click the create new tree parameters button. This will open a windows explorer window, select the folder you created in step 0 and give your tree parameters a name. Then click save. Then Next back in the wizard.

Step 3 - Create Tree Material
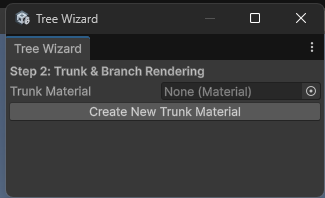
Click the create new trunk material button, and give this a name and save it in the same folder. Then press the next button in the wizard.
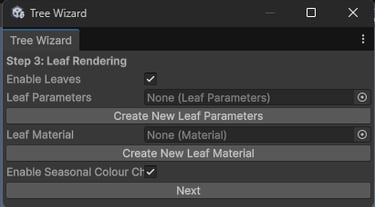
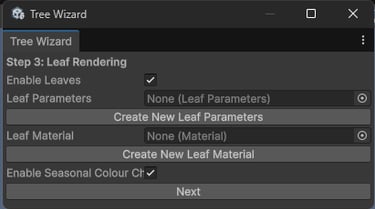
Step 4 - Configure Leaves
Decide if you want to render leaves as well, and check enable leaves if so.
If you are planning on using leaves, select the create new leaf parameters and save this in the same folder but be sure not to overwrite your tree asset (use a different name like *-leaves). Then create a new leaf material (also be sure not to overwrite your bark material by using a different name). If you plan on having different coloured leaves based on the seasons then select the Enable Seasonal Colour Change. This adds a component (Leaf Colour Controller) which can be added if you change your mind.
Then select Next.
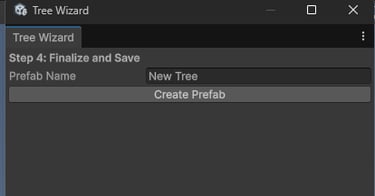
Step 5 - Create the Prefab
Give the prefab a name, then save it in the same folder you have been working in till this point. Once it is saved you can close the wizard.